Abandoned wheel
New horizons! A concept both stimulating and utterly terrifying. I only sculpted for two months and I already feel a bit overwhelmed by the prospect of creating a realistic scene. Well, realistic might be a strong word. I won't be able to produce anything realistic any time soon. Let's say... less stylized.
For my first exercise I chose one that focuses on modifiers. I've always struggled with them—give me five minutes and I'll be desperately screaming at the screen. "Why is it doing this?" or "Where did it go?", followed by a pleading "Please, why can't you just work...". Sentences I'm sure most Blenderers are intimately familiar with.
The goal of the exercise is to create a wheel. It must have a tyre with treads and a rim with spokes of some kind. It doesn't have to be fully finished (I don't have to worry about its back side), it just has to have a nice design and use at least two modifiers. Shouldn't be too hard, I think. (Not.)
OK, I started with the tyre. First, I found a very helpful tutorial on CG Cookie about the order of modifiers, which also happens to show modelling of a tyre. As a result, I was able to set up a simple mirrored plane which follows a circular path in an array that creates the full tyre. Add a necessary SubSurf and a nice-to-have Lattice, and a tyre is born.
I had previous experience with all these modifiers except one—the lattice. That one I used for the first time today. And it's a little box of magic, really. Instead of painfully modelling a complicated shape, you can set up a simple one with a bounding box around it and pull at its vertices. That way you get the visual result of a complicated shape, but you can quickly adjust it, or even scrap it, at a moment's notice.
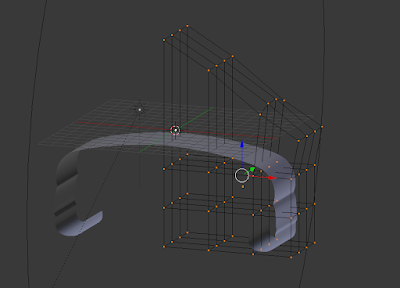 |
| Lattice in action |
***
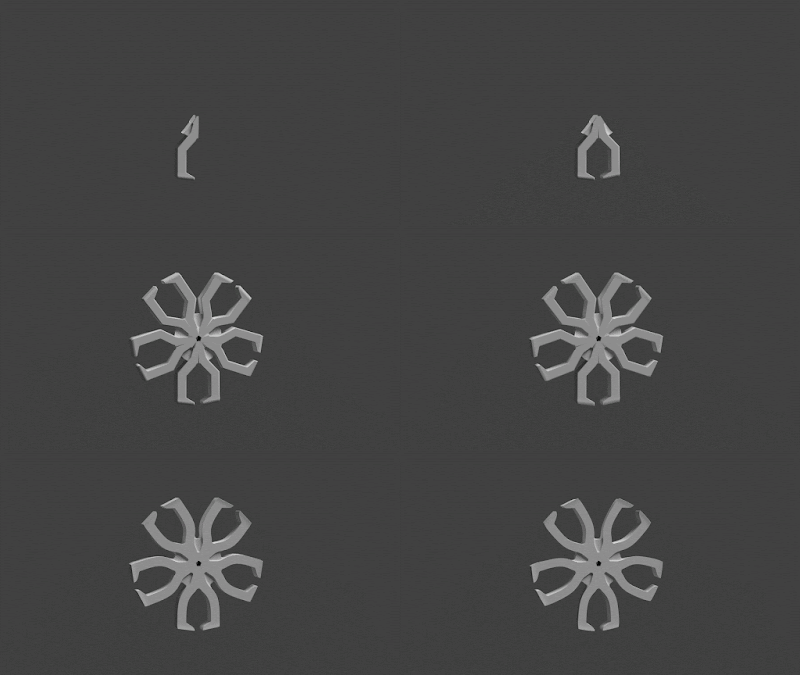
Now I'd like the audience to imagine a large gap in time. Say... four frigging days! Arrrgh, that was horrible. And such a simple thing as spokes on a rim. But I had to choose complicated design, didn't I? *Sigh* Alright, this is how it went. I isolated the smallest part and modelled it. Then I mirrored it. So far so good. I set up the array and it started coming along. Then the bevel starting acting up a bit, but that was nothing compared to when it was coupled with SubSurf. So I reworked the whole thing and added a couple of holding edges.
Then, for some silly reason, I decided to extrude the circular inner part from the spoke. Which is when the real fun began. You see, there is an option to merge the first and last instance of an array. It just didn't work with the bevel and SubSurf. And by didn't work I mean it created crazy artifacts and pinching. That's when I started discovering hidden inner faces (in the areas where the spokes meet in the array). So I removed the offending faces and everything started looking cleaner. But the array connection still didn't work.
Fast-forward to many frustrating hours later, when I tried each bevel option, creased and de-creased every edge five times, and reworked the whole bloody thing from scratch three times. I finally have something that—while definitely not perfect—is at least usable. And to calm myself down a bit I also created a short gif of the modifiers application. In order these are: Mirror, Array, Bevel, SubSurf, and Lattice. And I don't want to see any of them in the next decade.
But I have to finish the wheel first, don't I? *Sigh* Oh, alright.
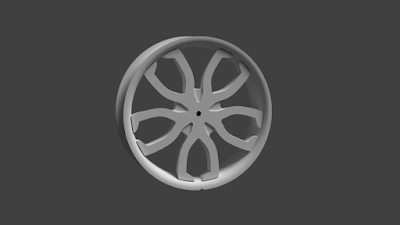
I've created the rim. And because I don't want to repeat myself too much, let's just say that it followed a very similar route. Reworked multiple times, still far from perfect, but I'm beginning to run out of time, so it will have to do. I'm using a similar set of modifiers, only instead of Bevel I have Solidify, and I don't use Lattice on this one.
Now, I'm sure you've noticed the gaping hole in the middle of the rim, but don't worry, I'll fix that! Or rather, I'll cover it up. I tried fixing that properly, but it always created artifacts, so I'm just going to put a nice cap on it and call it a day.
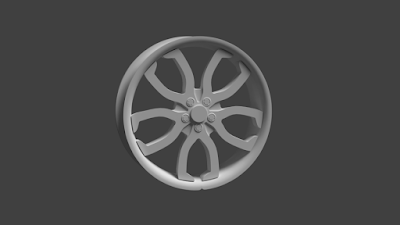
While I was at it, I also created the bolts and, erm, sockets? Bolt holders? I don't know what you call them. The little circular thingies. And the rim with spokes is starting to look like my reference picture. A little bit. If you look at it from another angle, it looks like a love child of a train wheel and a tuning fork. Where both parties hated each other. But I digress. With the spokes finished, I only have to do the treads and the rest of the scene. "Only". It's Friday evening...
***
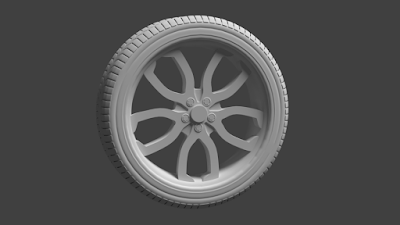
Huh, what do you know. The treads were actually the easiest part so far. And they look... good? Well they make the tyre look as much tyre-ish as I could hope for. Perhaps I should have prefaced this by saying that I don't drive, I rarely occupy the same space as a car of any kind, and my knowledge of them is limited to the number of wheels they have. (Plus a few titbits I picked up from Top Gear.) That's to say that I don't have the slightest idea what a real wheel is supposed to look like. I've had a look at reference pictures, sure, and the pattern I chose is similar to one I saw posted, but will it fool anyone who actually knows what wheels look like? Hardly.
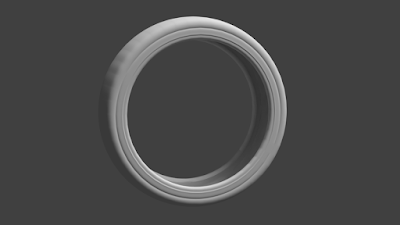
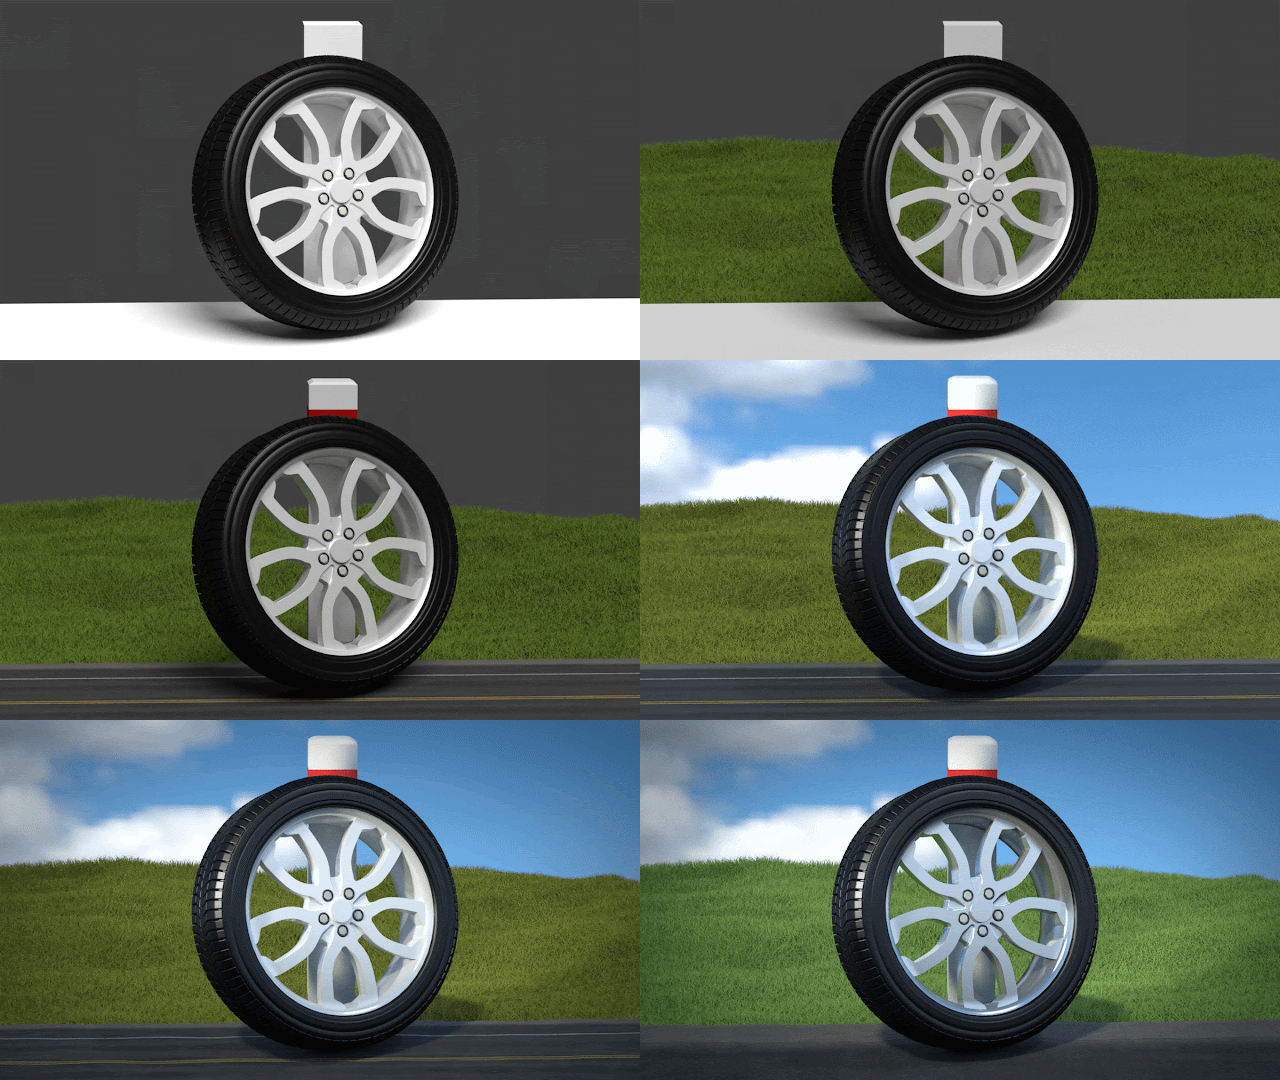
And I digress again. Technical stuff, focus. Right. Large number of modifiers used, so I created another helpful gif of how I put them together. Now to name them all. Mirror, Lattice, Array, Curve, Solify+Bevel+SubSurf. That's not the modifier order, mind you, that's the order in which I show them in the gif. As to the modifier order, I'm still not sure it's the correct one, but it surely is the best behaved one.
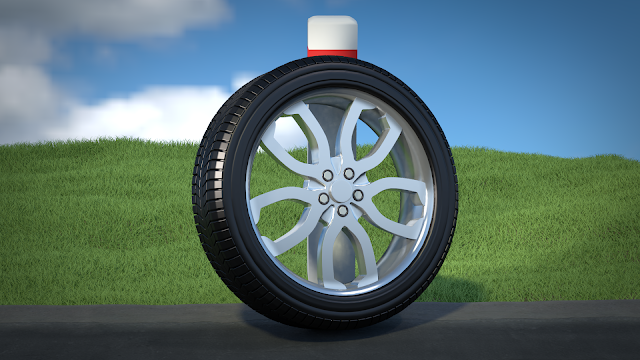
So there you have it, a finished wheel. I could upload it as an exercise submission right now, but I think I'll wait until after the scene is finished. I have a particular idea in mind but I doubt I'll be able to finish it in time. Even more so because it means going through another tutorial—this time focused on creating grass. Hmm. I think I'll do it. I wanted to try it for a long time, so I might as well do it now.
***
That wasn't too bad, given that it was my first time doing something like that. I only watched the first video which covered the simplest technique of creating grass (via hair particles) but I was able to make my hair look vaguely grassy (that sounded wrong, didn't it?). There are bazillion settings you can play with so it's entirely possible (and even probable) that there is a universe in which I created better looking grass, but I'm quite content with this one. It is placed on a slightly displaced plane (codename "hill") and uses a simple material built around the Principled shader. Now I need to add a couple more things and I'll be done.
***
Hmm, that couple more things put up a fight, let me tell you. The road was fine. I downloaded a texture pack from Poliigon and since I knew fairly well how to put all the pieces together, it didn't take too long. Then I wanted to add a thing. You know. Man-made, grows by hundreds at both sides of every road. And yet I couldn't find the proper English expression for it. The closest I got was "road marker post" which sounds too convoluted to be right. Another one was "bollard" but that seems like an inner city thing. Anyway, since I couldn't google it very well, I created the simplest one I could think of.
And then the lovely sky. I got an HDRI texture, that part was easy. I even remembered to add mapping node and all that. And it still showed black in the render. Fun. After half an hour of rotating it this way or that way, I finally got it into view and positioned it nicely. And it made my whole scene blue. So I added a warm orange key light, which helped a lot (and cost me about two hours of my time) and I made an attempt at using rim light (which isn't really visible in the scene).
Then I spent couple more hours playing with everything at once. I polished the materials, touching every node to see what different results it could produce. I also downloaded textures which add imperfections to objects, but you can only see them on the road (a little), because it's the only material that has a normal map. And then in short succession I tried filmic colour management (and didn't use it in the final render), changed the colour of grass and the rim (as a result of other colour changes in the scene) and added a little bit of post processing in the form of contrast tweaking and vignette. Oh, and it was kindly pointed out to me that I'm an idiot because I don't know how roads work (not in those exact words) so I changed the scale of the road and the yellow line is no longer visible.
And with that said, I'm finally finished for this week. I haven't decided what I'm going to do next but I remember seeing a Hard Surface modelling course in the recommended list, so I might check that one. There is a cute airplane advertised as a result of that course, which could become another thing I know nothing about that I could try to mangle in Blender.


Comments
Post a Comment