Pokemon 04: Golbat
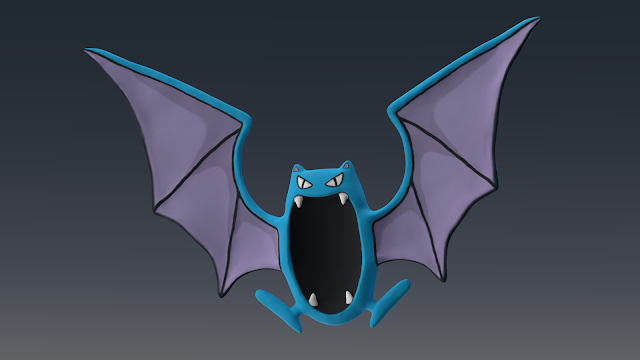
Alright, let's get to it. As the title has already revealed, this week I'm sculpting Golbat. Wouldn't be my first choice but I was asked to do it so here we go.
I'll do my best to keep it short this week (I guess that most of you are only looking at the pictures anyway) but I'll indulge myself first and talk a bit about the pros and cons of doing one project a week. I recently watched an experienced sculptor at work. When he was struggling with the sculpture, he said that if it doesn't start looking good soon he'll feel demotivated and he might need to stop working on the project. Which made me realize that one of the benefits of what I'm doing is that motivation has been removed from the picture. I don't even think about abandoning a project that goes poorly because I know that I must finish something by the end of Sunday.
However, this way of thinking also brings a few disadvantages. One I'm noticing most is that I don't get the sense of completion you have when you finish a project. It is simply another ticked box on a checklist. Also, if I incorrectly assess complexity of the project, my weekend can get quite stressful. And, since it is the holiday season, there is the question of what to do when I'm not at my computer for a week or more. Right now I'm hoping that I'll be able to cram a few small projects into one week and publish them as normal, but we'll have to see how that works out.
Okay, enough talk, let's move on to the actual project. I'll go now and do the base mesh and rough sculpture and I'll get back to you once I'm done.
***
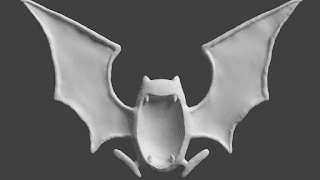
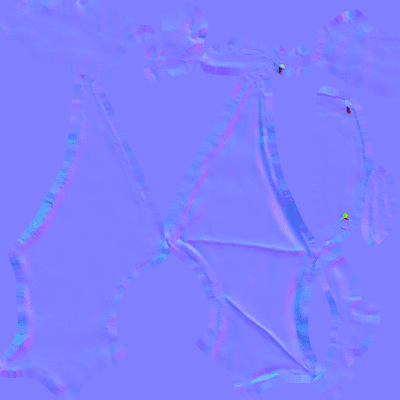
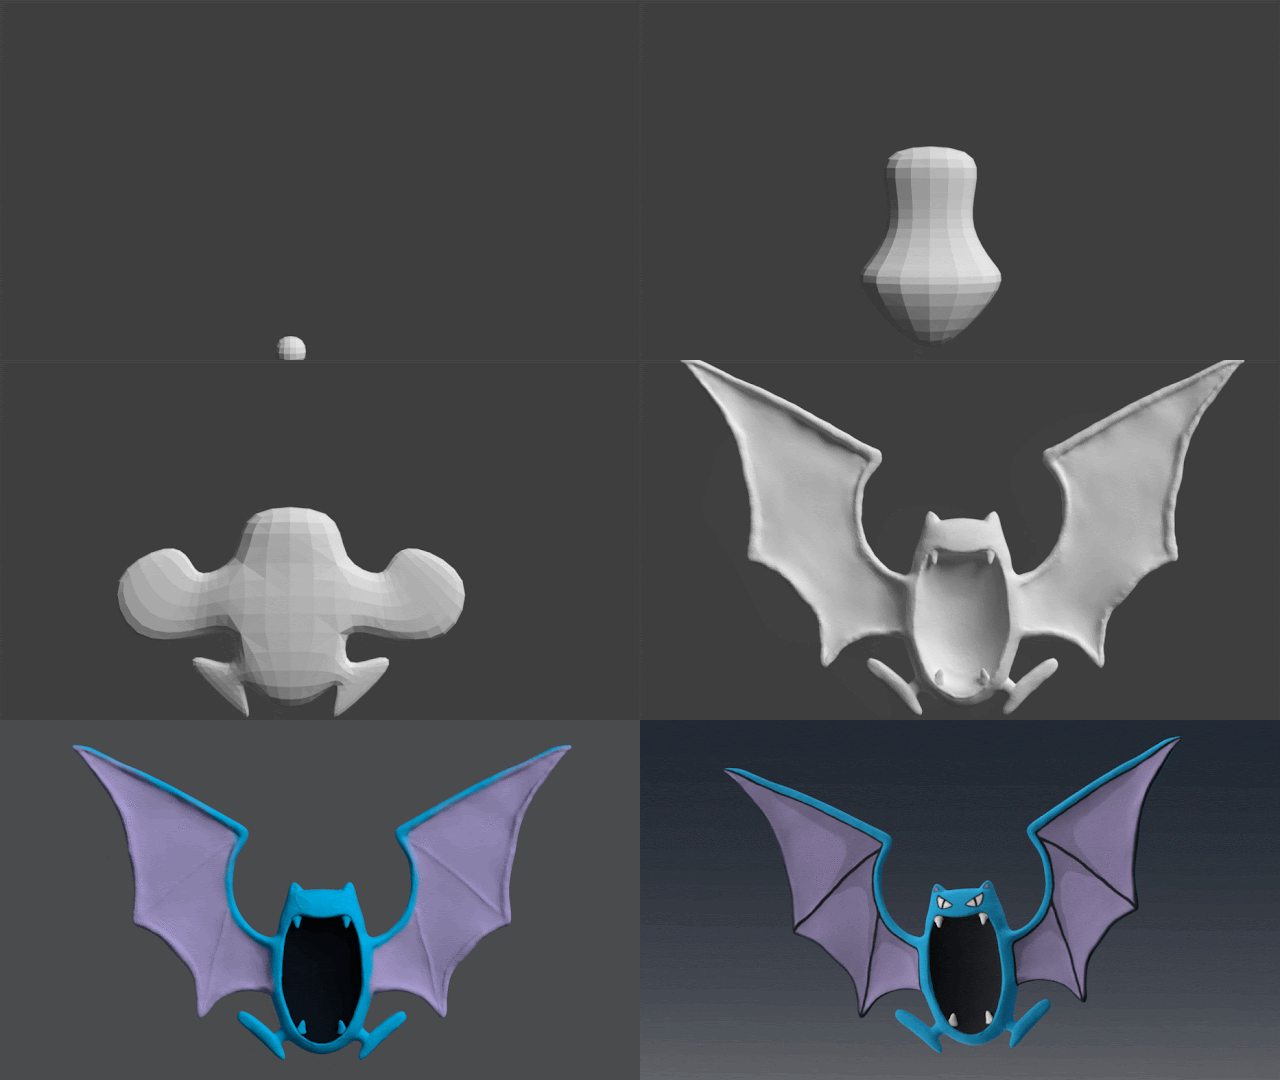
And I'm back. So far I haven't come across any significant bumps on the road. The skin modifier behaved so the base mesh didn't take too long and the sculpture didn't have many details that I'd have to spend a lot of time on. I avoided the smaller details on purpose because I want to try something new this week. I've noticed that when I retopologize the sculpture, I lose a lot of detail I put into the original sculpture. But if I successfully bake a normal map I could (hopefully) compensate the loss. In the ideal scenario I'd have optimized mesh with the details of the sculpture.
But before I can do that I have to actually retopologize it. So if you'll excuse me, I'll be back in a couple of days.
***
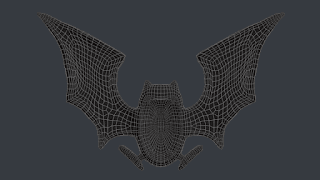
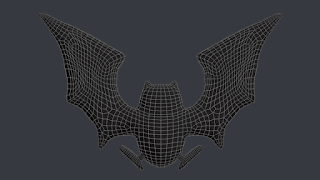
Hmm, couple of days turned out to be almost four. What baffles me is that I'm using more advanced techniques of creating the faces (bridge edge loops, grid fill) but I'm still not able to cut the time spent on retopology. And this week's creature is much smaller that the last one so it should have taken less time. Black magic at work, I suspect.
Anyway. To briefly sum up how it went: not well. Inside of the mouth was relatively simple thanks to the grid fill but the wings were a nightmare. Once I did one side I realized that I could mirror it and get the other side for free. But since there is nothing like free retopology I ended up struggling with it for much longer than if I did it by hand. The major issue was that if just ticked another axis on my existing mirror, it did the trick but it also intertwined the faces that created the inside of the mouth (it is really deep). To prevent this I eventually separated the wing and mirrored it. It created another problem on the edge where I had to manually merge many vertices, but it worked.
Then I rejoined the wings, got duplicate vertices and had to fix that. And then I reworked the geometry on one side and I no longer had the mirror, so I had to do it manually on the other side, but because of the edge I had uneven number of edge loops on either side so the layout didn't work... In the end this detour took good couple of hours to pull off. And then the rest of the body just refused to cooperate. It is my fault because I didn't use the grease pencil enough but the geometry just went on strike. When I realized how bad it was going I focused on maintaining the main edge loops—which means that some of the minor ones are wandering all around the body. Oh well.
I'm going to UV unwrap it now and then I'm off to do some baking. I'm equipped with the bare minimum of how to create the normal map so I hope it will be good enough for the model.
***
Success! The normal map is finished. It looks pretty decent in most places but there are a few spots with weird artifacts. The most problematic one is behind the lower teeth but it should get covered by the texture so I'm not going to stress about it too much. However, I do wonder how that happened as I'm pretty sure I set it up correctly. Might be a problem with one of the meshes.
Oh, I should probably mention how I actually did it since it is the first time I did it. I created a simple texture. Then I selected the sculpture first, the optimized mesh second, and I clicked on Bake. The only tricky part is to set the type to Normal and to have non-zero value in the Ray Distance. Otherwise, it is pretty straightforward (since I know almost nothing about it. It will get more complicated later, I'm sure).
With the normal map created I should switch my attention to the texture. I'm quite looking forward to it because I've come across a trick that will be very handy. When you are choosing a color for the paint brush you can use the color picker and click into any existing picture to get the exact shade of color. No more "pick a color, paint for a while, realize it's a wrong shade, pick a different one, paint a while, switch a couple more times, find one that you like, paint everything with it, realize that it looks very different when the model is lit, get a new mouse and keyboard..." Well, all except the last bit. I don't get aggressive when things don't work - I'm more of a brooding type.
I think I'll get back to you once the project is complete because I'm probably not going to do anything fancy once I finish the texture.
***
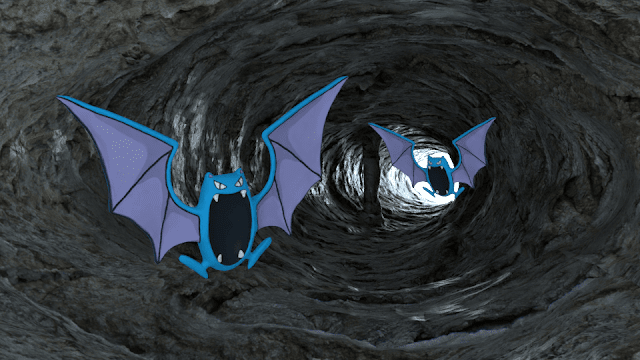
Eh. I wish I stuck with the "nothing fancy" part. Instead I started thinking about the scene background and came up with a ridiculous idea. What if the Golbat was flying in a cave? That would be great! And I know just the tutorial I need for it. Blender Guru once did a crystal in a cave and the cave bit didn't take too long. Well, guess what. I have a good news and a funny news. The good news is that I made the cave and it turned out great. The funny bit is how hilariously grotesque it looks when you put two Golbats in it. Remember the Space Jam movie? That. Only worse. But why don't you judge it for yourselves? Consider it a blooper reel extra bonus kind of thing.
When I finished laughing I set out to make a proper final render. Which, for some odd reason took ages to achieve even though I used a simple gradient image for the background. The light was the major problem. No matter where I put it, Golbat always looked 2D. Even with the goddamn normal map on! How you can end up with less detail the more detail you add is just beyond me. After fiddling with all kinds of lighting sources for a good part of the afternoon, I finally got something presentable. I'm not very happy with it but I guess there will always be projects that don't turn out well whatever you do.
Let's not dwell on it for too long and move on to the next project. I have three candidates for the next week: Jigglypuff, Sandshrew, and Dugtrio - even though I'll probably keep Dugtrio for when I'm on holiday. But, the normal rules apply. If you have a Pokemon that is close to your heart and you want me to sculpt it, let me know in the comments and I'll see what I can do. Until next time!
(Also, if you like Golbat after all, you can download it on Sketchfab. Enjoy!)


Comments
Post a Comment