Pokemon 02: Charmander
Ok, Pokémon: take two. No, no, put them down, slowly... I meant the second attempt at sculpting Pokémon, not that you can grab the poor little buggers and leg it. Bad reader. Very bad. As a punishment you'll have to sit here and read me ramble about sculpting and retopologizing and texturing. Serves you well, mister.
I'll try to make this post shorter because there is so much work ahead of me that I'm not even sure I'll get it all done before the deadline. This week I decided to do Charmander. I had mainly two reasons for it: one, I was able to find good reference images (front, side and back, surprisingly) and second, I wanted to make something visually distinct from grassy Bulbasaur of the previous week. I have a fiery image in my head so let's see how well I'll be able to materialize it. Well, digitalize it, it is not quite—you know what I mean.
***
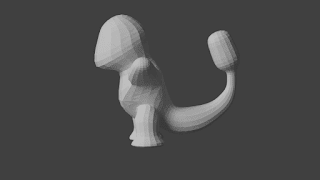
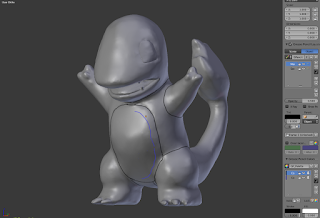
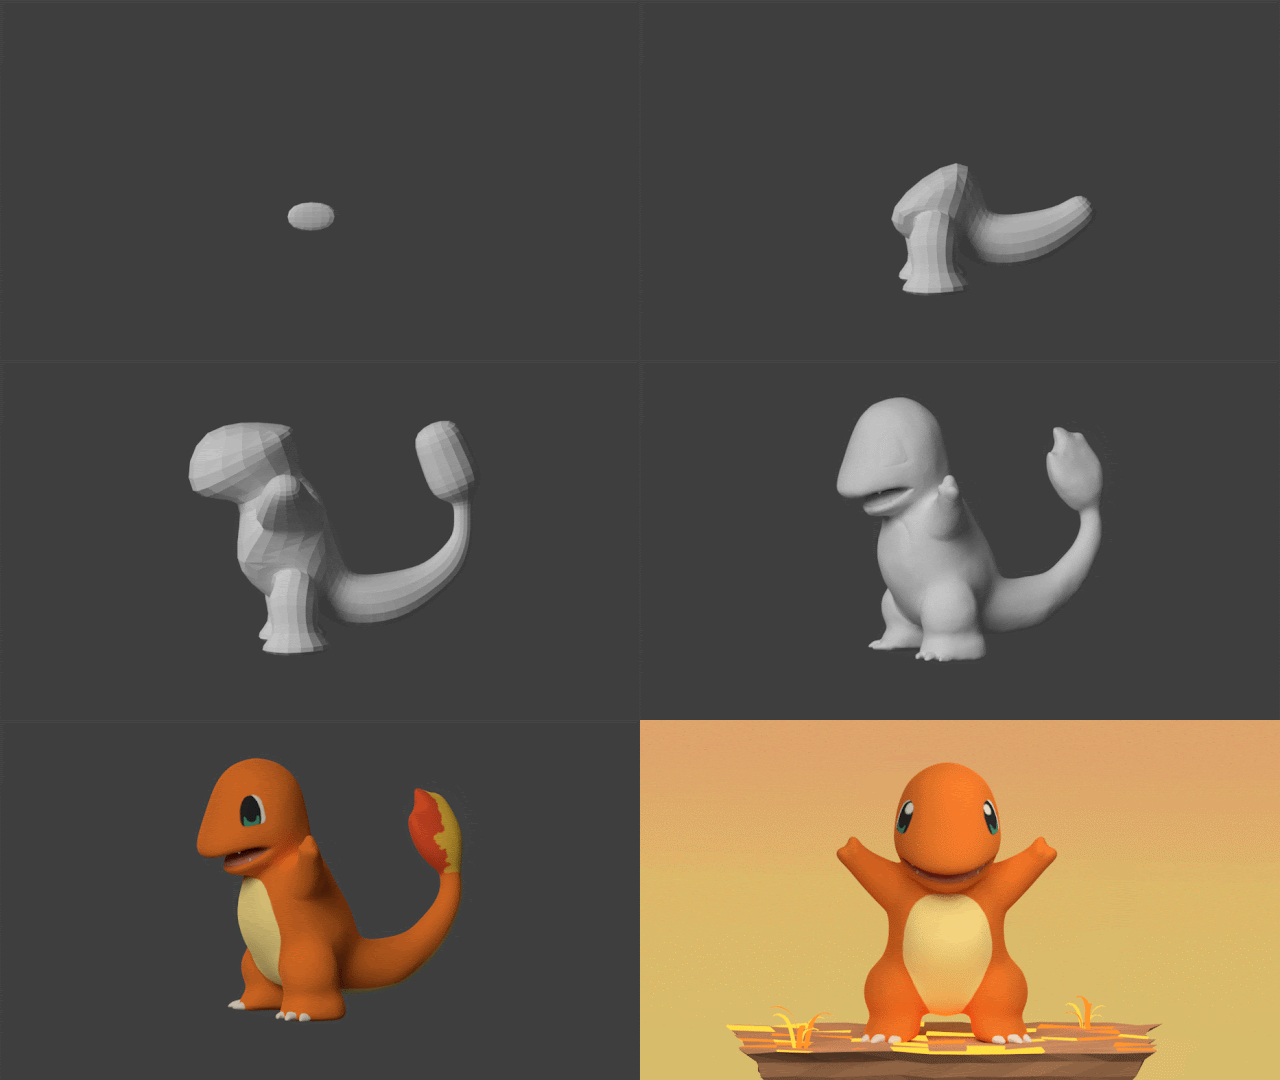
This journey is going to follow a very predictable path so I don't expect you to be surprised when I say that I started with a base mesh. I didn't struggle with it nearly as much as the last time which is odd because I don't feel any more experienced than I was a week ago. It must be the difference in body shape. The front legs (hands?) did give me a bit of trouble but I was able to handle them well in the end. This is what the mesh looks like right now:
Now I'll need to switch to the sculpt mode and bulk it up a bit so that it is nice and round.
***
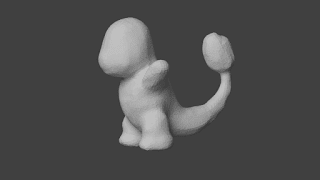
Alright, the shape is coming out nicely. I haven't done many details yet, just the general shape of the head, body, tail and the flame. I'm trying to add as little geometry as necessary at this point because with greater density the viewport might start lagging pretty quickly. And we don't want that, oh no, precious.
But I'm now at the point where I need to start smoothing things out and finalizing the shape. I'll also need to carve out the mouth, which is something I'm not particularly looking forward to because I'm afraid I'll fu— erm... screw things up.
***
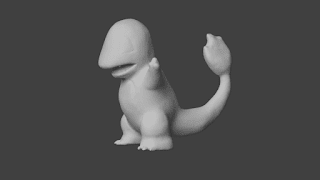
The sculpting part is now done and the mouth wasn't that hard to do in the end. I used the masking brush to cover the areas I didn't want to affect, and then I deflated the mouth cavity inwards. That part was ok. But then I realized I also needed to sculpt the tongue and teeth, and that didn't go nearly as well. Not that I didn't know what to do but there was very little space to operate in. The tongue doesn't look terrible but I'm not quite satisfied with the teeth. In the pictures they are rather small and cute, that's true, but mine look a bit too small and cute. Oh well, he can eat soup for now.
The next big step is to retopologize Charmander. It will be the first time I do it so I expect all sorts of funny misbehaviour from Mr. Blender, the old trickster.
***
Yep, didn't get as far as the grease pencil and Mr. Blender jumped on me with his weirdness. To explain: in the tutorials I watched, the first advice was to draw the main edge loops on the character. In theory, grease pencil is a great tool which allows you to have your sketches in several layers and colours. Coincidentally, this happened to be my undoing.
The version of Blender I'm using is different from the tutorial one. It is more advanced, perhaps, in the grease pencil area. And I just wasn't able to figure out how the layer thing works with the colour selection thing. I had everything selected correctly and it would still draw in wrong shade or on a different layer than I wanted. So I decided to improvise and create the geometry as I stumble along. Terrible idea, I know, but sometimes it's the only thing you can do.
***
Ladies and gentlemen, that was one hell of a ride. It is now 1 am on Saturday—er, Sunday, actually (crap crap crap). I have finished the retopology exercise and I'm absolutely exhausted. 12 hours it took me. TWELVE hours! I did the whole Bulbasaur scene in that time. Unbelievable. But fun. Reminded me of the time when I played with jigsaw puzzles. Once I assembled one that had over 9000 pieces. That was my masterpiece. This was nearly as much, I think. Or maybe not, because of the mirror modifier, but it still has to be many hundreds of faces created manually.
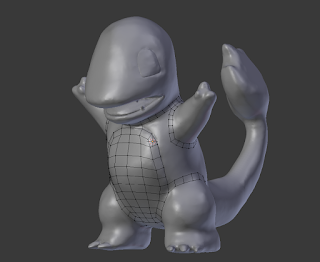
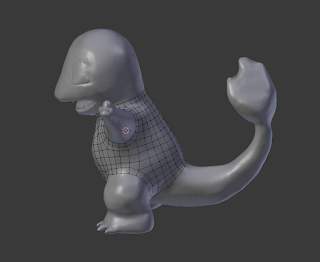
The trick is to use "Snap to faces" option. That's where the original sculpture comes into play—in its last melancholic act before it is dumped into the merciless pits of time. Eh, sorry for that, very, very tired.
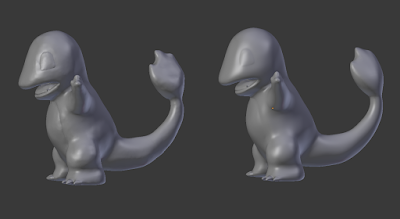 |
| Can you tell the original sculpture from the retopologized imposter? |
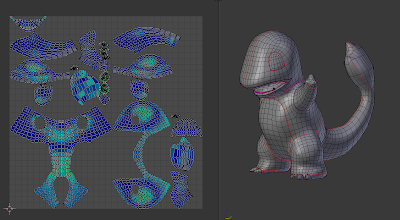
Where was I? Oh yes, retopology. Incredibly strenuous work that no one will appreciate because it is nearly invisible in the final render. It is meant to ease the work that comes after it: UV unwrapping and texture painting. And I can tell you that it already helped me with the unwrapping. Also, there is something beneficial about doing this at midnight after a long day of staring at the screen. You just don't give a damn anymore. In more fresh circumstances I might have worried about putting the seam here, or maybe there... But now? Seam, seam, seam... seam, seam. Done. Below you can see the optimized topology in 3D on the right and in 2D on the left.
The colours symbolize how much of area stretching is happening in each bit. Short version is: blue and green good, orange and red bad. When I first unwrapped it I had a bit of orange in the back area but adding a few seams here and there did the trick. Tomorrow—today morning—I'm going to tackle the texture painting and environment, and then I can finally enjoy my well-deserved rest.
***
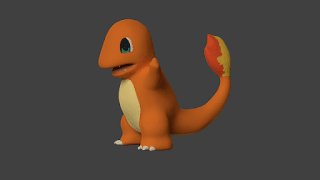
Greatest discovery of today: sleep helps. Texture painting is finished and it was way easier than what Bulbasaur had to go through. Probably not easy enough to justify 12 hours of retopology but it was still appreciated. The only challenging part was the inside of the mouth. I have my brushes set so that the amount of paint you apply depends on the angle at which you are looking at the faces in front of you. I nearly screwed my head off as I was trying to peek inside the mouth. That's where camera angle comes into the picture. Why, you ask? No reason. None at all. (I'm just kidding. I painted the roof of the mouth even though no one will ever see it. Because I'm weird like that.)
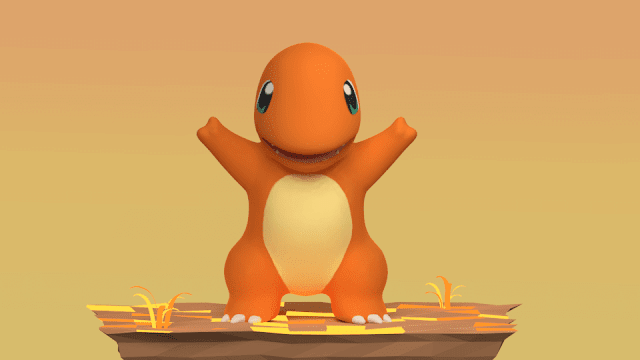
Now I just have to change the platform a bit, use a different gradient on the sky, and I should be done.
***
Eh. That scene looked much better inside my head. The lava is not nearly as nice as thought it would be, and frankly, the whole platform is a bit rubbish. So I decided to re-cast the grass from the last week for the role of flames. More of an internal joke than artistic expression. Nothing I do will save the scene now. At least I had enough sense to notice that I missed one very important part of Charmander's eye, and added it promptly. Made all the difference.
As for the next week, I'm still undecided about what to make. I'm thinking about Lapras, because I always liked that one and it would allow me to make an ice-themed scene but who knows, maybe I'll change my mind and do something else. (Tips and ideas in comments below are still welcome. Just saying.)



Comments
Post a Comment